
You have spent twenty minutes twisting, pinning and wrestling, and when you finally pull the unit on there it is again: that unmistakable lump at the crown, or a suspiciously wide silhouette from the side. Meanwhile, the whole thing is sitting a full centimetre higher on your forehead than it should.
If you have dense hair past your shoulders, this is a nightly frustration, and no amount of yanking the wig down will fix it. The problem is not the wig. It is volume that has nowhere to go, and the solution is redistributing that volume rather than trying to compress it.
Why Density and Length Cause Bumps
Think of it as luggage. You cannot make a suitcase hold more by pressing harder on the lid — you have to repack it flat. Your hair works the same way.
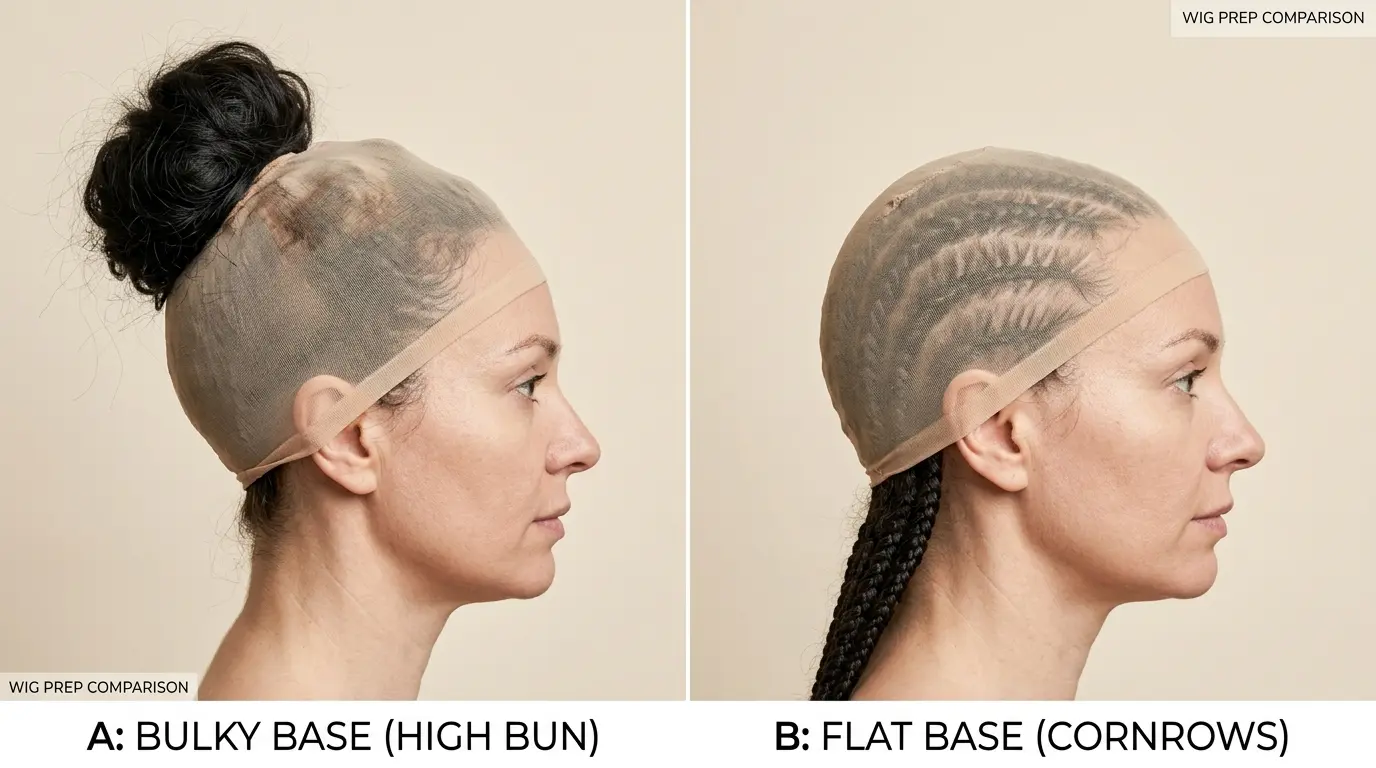
Three specific things go wrong. First, hair that is simply twisted into a bun creates a concentrated mound, and any bun placed on the crown or high on the back of the head is directly in the wig’s line of sight. Second, thick hair resists lying flat; it springs outward at the sides, widening your head shape and putting strain on the cap’s seams. Third, all that bulk takes up the space the wig cap was designed to occupy, which pushes the unit up and back, dragging your hairline out of position.
There is also a comfort cost that nobody mentions. Bulk under a cap means uneven pressure, and uneven pressure over hours means a headache and sore spots. If that sounds familiar, our guide to easing wig-related tension headaches tackles the fit side of that problem.
Prep Your Hair Before You Braid Anything
Working with dry, tangled hair guarantees a lumpy result. Ten minutes of prep saves you the whole battle.
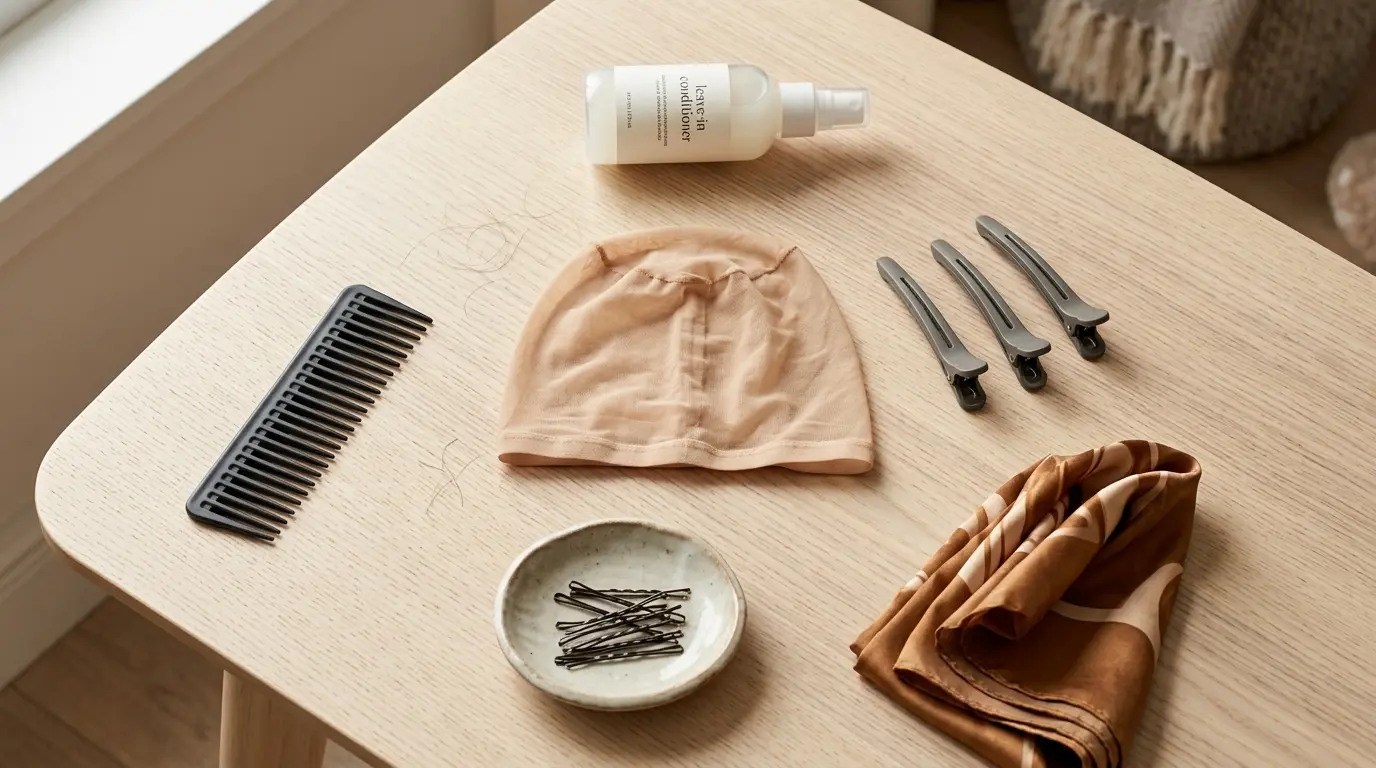
Start with hair that is fully detangled and either damp or lightly misted with a leave-in conditioner. Damp hair lies flatter and behaves more predictably. If your hair is very thick and dry, a small amount of a light cream or lotion adds slip and helps the sections stay smooth, but go easy — heavy product under a cap all day is a recipe for buildup and an unhappy scalp.
Then part your hair into sections and clip them. Trying to braid dense hair freehand almost always produces uneven, chunky rows. Sections should be smaller than feels necessary; the finer the rows, the flatter the finished base.
Flat Braiding Methods That Actually Work
Different lengths and textures suit different approaches. Here are the ones worth learning.
Cornrows Straight Back
The gold standard for a flat base. Braid in straight rows from your hairline to your nape, keeping each braid snug against the scalp rather than tight. Six to ten rows is typical, depending on density. The braids themselves lie almost flush, which is exactly what you want.
The catch with very long hair is the tails. Do not let them pile up at the nape — that just relocates the lump. Instead, gather the loose ends, flatten them into a horizontal band across the back of your head, and pin them in a criss-cross pattern with bobby pins.
Tension matters more than neatness here. Braids that pull at the roots, sting, or leave little bumps along your hairline are too tight. Repeated over months, that kind of tension contributes to hairline thinning, which is a much bigger problem than a slightly imperfect braid. If a row hurts, take it out and redo it looser.
The Wrap Method
If you cannot braid or your hair is too fine to hold cornrows, this is your friend. Make one or two loose flat braids or a low ponytail, then wrap the length horizontally around the back and sides of your head, following the curve of your skull, pinning as you go. You end up with a thin, even layer distributed over a wide surface instead of a mound in one spot.
The trick is to wrap low and wide. Anything above the crown will show.
Flat Twists and Pin Curls
Flat twists are quicker than cornrows and lie nearly as flat, making them a good midweek option. For hair around shoulder length, pin curls are excellent: divide into small sections, coil each one flat against the scalp, and secure with a pin. They spread bulk evenly across the whole head and have the pleasant side effect of leaving you with waves when you take the wig off.
Whatever method you choose, run your palm over your whole head before you cap up. Your hand will find bumps your mirror misses.
Choosing a Cap That Does Not Add Bulk
Not all caps are created equal, and the one you have been using may be part of the problem.
A thin nylon stocking cap is the flattest option and the best choice for thick hair. It compresses gently, has no seams to speak of, and disappears under a unit. Buy one that matches your scalp tone so it does not show through a lace part.
A mesh dome cap gives grip and protects your hair, but the elastic band around the edge is bulkier and the domed shape adds a few millimetres all round. If you like the grip, consider wearing a stocking cap first and the dome cap over it — or skip the dome entirely and use a thin silicone-lined grip band at the hairline instead.
Double-capping is a common instinct with thick hair. Use it sparingly. Two caps mean more heat, more sweat, and more pressure, all of which make for an itchy, uncomfortable day. If you find yourself needing two just to contain everything, the braiding underneath is what needs fixing.
Fixing the Three Most Common Problem Spots
A lump at the crown. Almost always a bun or pinned tails placed too high. Move everything below the occipital bone — that bump at the back of your skull — where the wig’s own cap has more room.
Width at the temples. Thick hair pushed sideways during braiding. Angle your rows slightly downward toward the ears instead of straight back, and make the two rows nearest your face finer than the rest.
Bulk at the nape. The most common issue with long hair and the hardest to hide, since it is right at the wig’s edge. Split the tails into two flat bands and pin them in opposite directions across each other rather than stacking them.
When the Wig Itself Is the Problem
Sometimes you have done everything right and the unit still perches. Standard wig caps are built to an average circumference, and if your head runs larger, or your hair genuinely takes up that much room, you are asking a cap to do something it cannot.
The signs are consistent: the wig rides up through the day, the adjustable straps are already at their loosest setting, you feel pressure across your forehead, and the ear tabs sit too high. That is a sizing issue, not a technique issue, and the answer is roomy wigs designed for thick hair with a deeper cap and a longer adjustment range. Measuring your circumference honestly — around the hairline, above the ears, and around the occipital bone — is a five-minute job that saves months of irritation.
Look After What Is Underneath
It is easy to focus entirely on the wig and forget the hair you are protecting. Hair kept flat, dry and covered for long stretches still needs moisture and air. Give it a rest day between installs where you can, keep braids loose enough to slide a finger under, and pay attention to your scalp — heat and trapped sweat under a cap create conditions that hair does not enjoy. Our guide on caring for your own hair under a unit covers the cleansing and moisture routine in full.
Frequently Asked Questions
How long can hair be before it is impossible to hide under a wig?
There is no real limit. Hair past your waist can be wrapped and pinned flat with practice — length is far easier to manage than density. The technique simply shifts from braiding it away to distributing it in a thin, wide layer around the head.
Should I put my hair up wet or dry before capping?
Lightly damp is ideal because hair lies flatter and sections stay smooth. Never cap over genuinely wet hair, though. Hours of moisture trapped under a cap makes for an itchy scalp and can leave your hair smelling musty.
Do I need a wig cap at all with thick hair?
You do not strictly need one, but you will almost certainly want one. A cap creates a smooth barrier that stops loose strands escaping around the hairline, reduces friction between your hair and the wig’s interior, and gives the unit something even to sit on.
Why does my wig keep sliding back through the day?
Usually bulk pushing it up and forward, combined with a cap that is slightly too small. Redistribute the volume lower on your head, tighten the adjustable straps, and check the fit. If the straps are already fully tightened and it still moves, the cap size is the culprit.
Are cornrows bad for my hair if I braid every week?
Not inherently — the harm comes from tension, not frequency. Braided snugly rather than tightly, with the parts varied slightly each time so the same spots are not stressed repeatedly, weekly braiding is fine for most people. Pain, stinging or little bumps along the hairline mean it is too tight.